
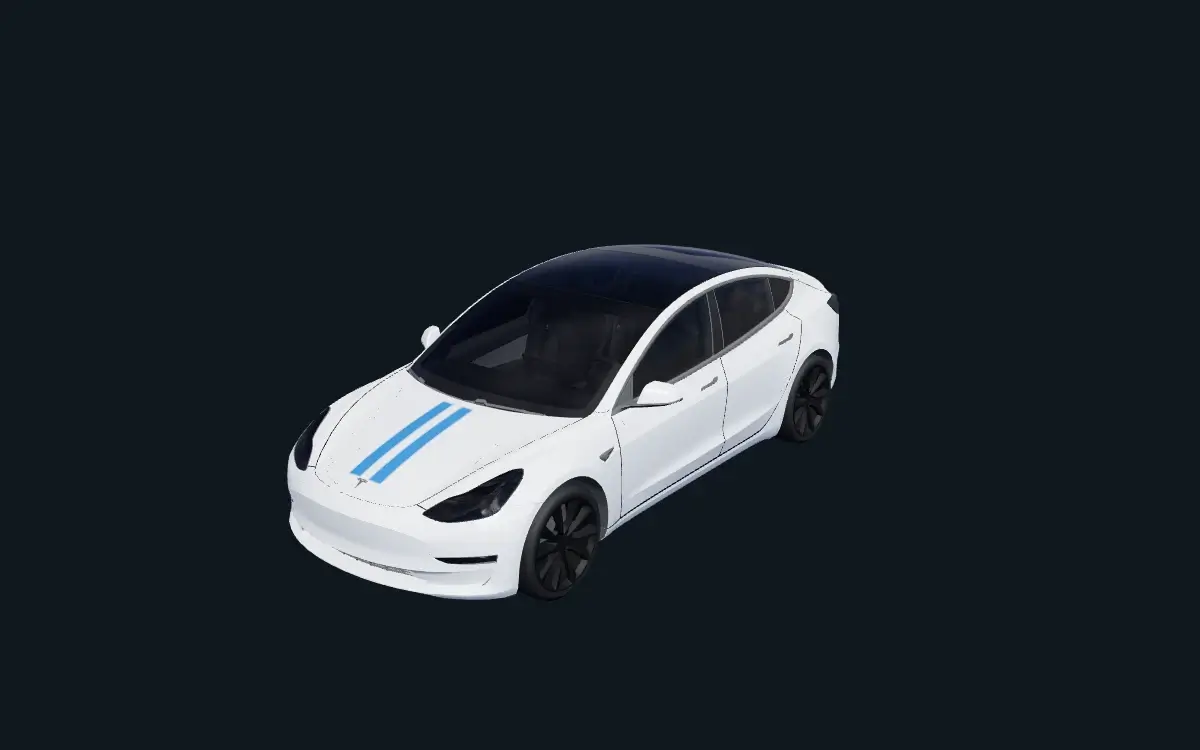
To create custom Tesla wraps on your phone, open the matching vehicle editor in your mobile browser, arrange your design, review it in 3D, and download the PNG. Save the actual exported image somewhere you can locate again before opening the Tesla app. On a phone, the important handover is from your browser download to the place where the upload picker can find that same image. This guide focuses on those handoffs rather than repeating the full desktop design tutorial.
Begin with the matching vehicle on your phone
Open the vehicle selector in your phone's browser and choose the entry that matches your vehicle. Check the year range and variant as well as the model name. A convenient download made for a different body layout will not become suitable just because it opens on your phone. Make the vehicle choice before adding detailed artwork.
If you prefer to start with an existing design, browse the original templates and read the vehicle label before opening one. A ready-made example lets you inspect the relationship between the flat image and the car before changing it. You can then decide whether to adapt that design or begin with a blank template. Keep the goal specific enough that you can inspect the important details on a smaller screen.
Separate editing the image from inspecting the car
Use the editor's design controls to place your artwork on the selected template. Add or adjust the element you are working on, then look at the 3D view to see where it lands. Check text and logos against the body panel rather than only against the rectangular canvas. A design can appear centered in the image while sitting across a seam on the car.
Work through the panels deliberately instead of treating the phone's first visible preview angle as the finished result. Inspect both sides and the front and rear before deciding that the placement is correct. If artwork looks distorted, return to the template and adjust it there. The complete creation guide explains the design and seam checks in more detail without adding transfer steps to this part of the workflow.
Download the texture rather than a screenshot
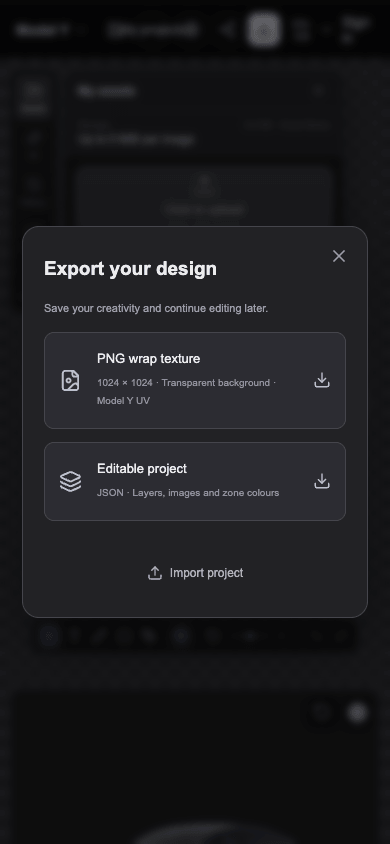
When you finish the design, select the PNG export in the site's editor. A screenshot of the vehicle preview contains the rendered car and interface, rather than the flat texture that Paint Shop expects. Saving that screenshot to your photo library does not turn it into a wrap. Use the exported PNG as the file you carry into the next step.
Keep the download distinct from any editable project file you also save. The project is for continuing your work, while the PNG is the image used for transfer. The filename and the place where your browser saves it are worth checking immediately. Finding the correct file now is easier than choosing among several similarly named images inside a later upload screen.
Find the downloaded file before switching apps
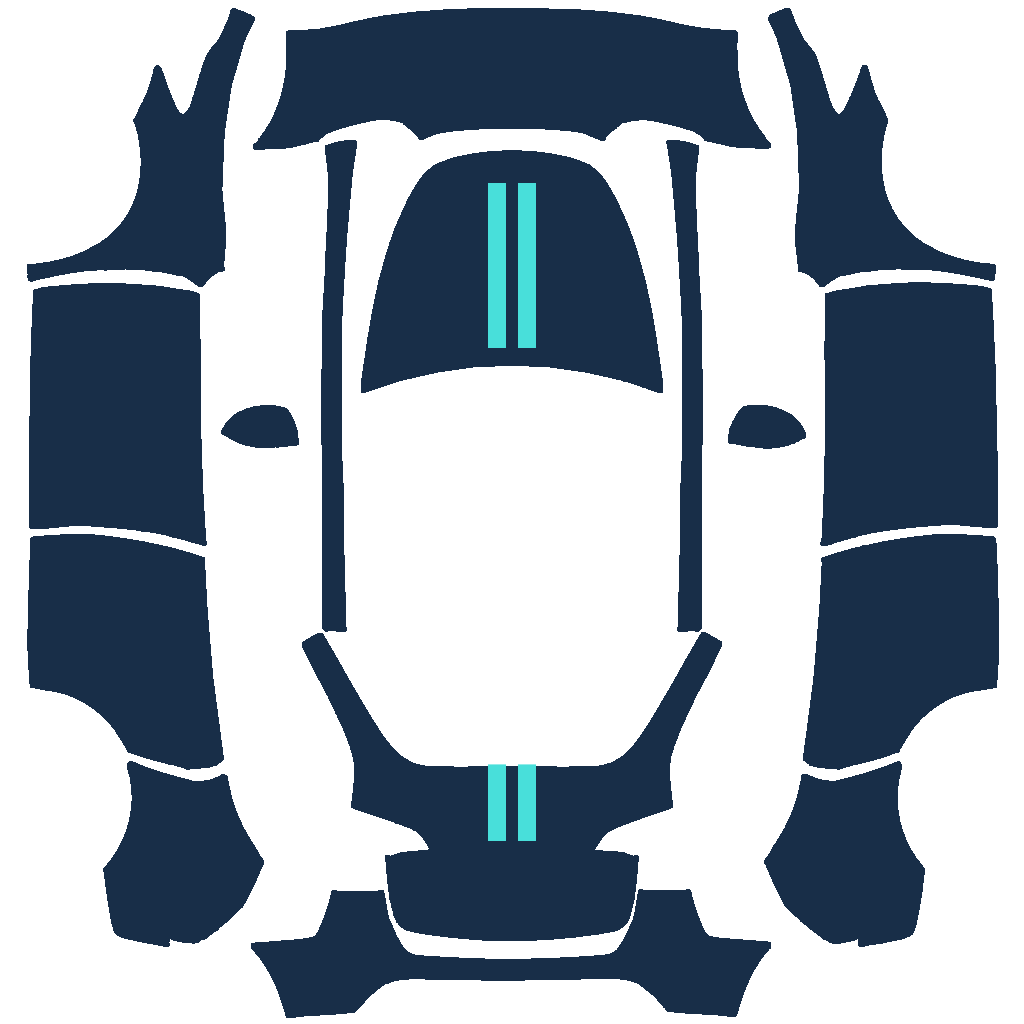
Your saved image may be accessible through Files, Downloads, Photos, or another location supported by your phone's picker. Open the location where the download actually arrived and verify that the file is present. Look at the image and its name rather than assuming the newest thumbnail is your final design. A downloaded texture can look like separated body panels, which is normal for a vehicle template.
In the linked iPhone video, the presenter saves a compatible image to Photos and later finds it through Collections and Recently Saved. That demonstrates one photo-library route, not a guarantee that every browser's download goes to the same location. Browser and operating-system menus can differ from the video's interface. The exact native save and picker labels for every iPhone and Android version remain to be confirmed; use the location that contains your actual PNG.
Check the file your phone saved
Tesla documents PNG images from 512×512 through 1024×1024 pixels with a maximum size of 1 MB. Check the downloaded image's information, because the size of the source photo does not establish the size of the exported texture. A file that looks correct in a small thumbnail can still fail one of these requirements. Keep the template's intended dimensions when preparing a replacement export.
The site's editor should not be described as automatically making every artwork fit under the size cap. If the download is too large, optimise the actual PNG or simplify the design and export it again. Inspect the revised image before deleting the version you were comparing against. Merely renaming a JPEG, WebP, or other file to end in .png does not produce PNG data.
Rename duplicates without losing track of the design
Repeated downloads can produce filenames that are hard to distinguish. Tesla permits letters, numbers, underscores, dashes, and spaces, with a maximum filename length of 30 characters. A duplicate name such as wrap (1).png includes parentheses, so replace it with a short permitted form such as wrap-2.png. Check the saved filename rather than only the design name displayed in the editor.
Use a simple Latin-letter filename for transfer even if your article, phone, and artwork use another language. That is a practical way to stay within the documented character set without depending on how an uploader interprets additional characters. Keep enough model information to tell files apart when you own or design for different vehicles. Renaming helps organisation, but it never changes the vehicle mapping inside the image.
Hand the finished PNG to the upload workflow
After locating and checking the image, follow how to upload custom wraps to your Tesla. That guide explains the documented Creations → Wrap → Upload route and the alternative USB method. The creation website exports the image; the transfer takes place in the Tesla app or through a USB stick. Exporting from the browser alone does not send the design to your vehicle.
If a picker does not show your image, return to the location where you verified the file and compare the available browsing options. The supplied phone upload demonstration shows the presenter locating a saved image before uploading it. Follow its sequence as an example while allowing for different native menu labels on your device. Keep app availability questions separate from whether the browser successfully downloaded your file.
Diagnose the mobile problem at the right stage
If the design itself is distorted, check the model template and the placement of graphics in the editor. If the download cannot be found, check where the browser saved it and whether the file completed downloading. If an upload rejects a file you can locate, inspect its actual format, dimensions, size, and filename. These checks address different stages and help you avoid redrawing a good design because of a storage issue.
Before leaving the browser workflow, confirm that the selected PNG is the final version for the intended vehicle. Review its 3D placement, identify its saved location, and check its file information. The desktop-width and phone-width editor screenshots here come from this site; they do not establish a test of every native phone or Tesla app version. Keep the same verified file through the transfer process so later troubleshooting starts from a known design.