
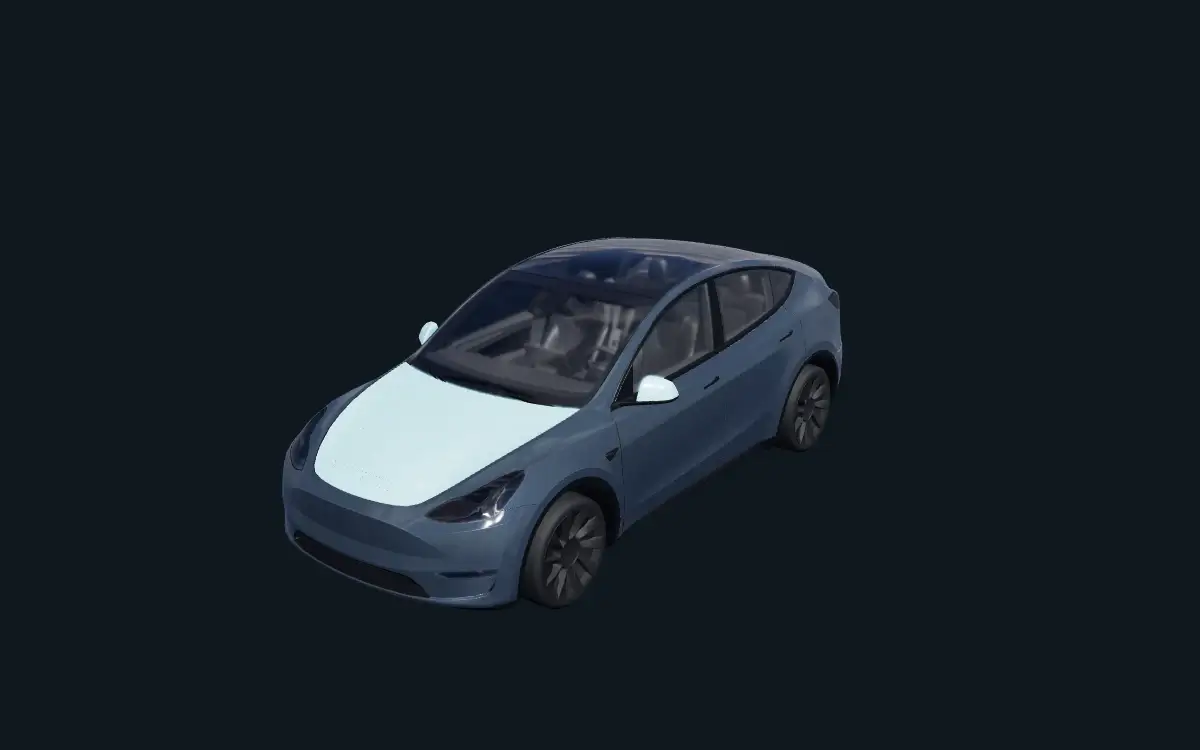
Upload a custom wrap to your Tesla by selecting a compatible PNG through Creations → Wrap → Upload in the Tesla app, or by placing it in a root-level Wraps folder on a supported USB drive. Tesla documents app version 4.59.0 or later for the mobile route. After transfer, apply the design through Toybox → Paint Shop → Wraps on the vehicle. Start by matching the PNG to your exact vehicle template, because a successfully transferred file can still place graphics incorrectly.
Confirm that the PNG matches your Tesla
Read the vehicle information supplied with the design before checking its file size. Model, year range, and variant matter when separate templates exist for them. A design made for a different body layout can stretch or move artwork even when the image meets all the technical file requirements. Choose the intended model in the vehicle selector if you need to check the corresponding template.
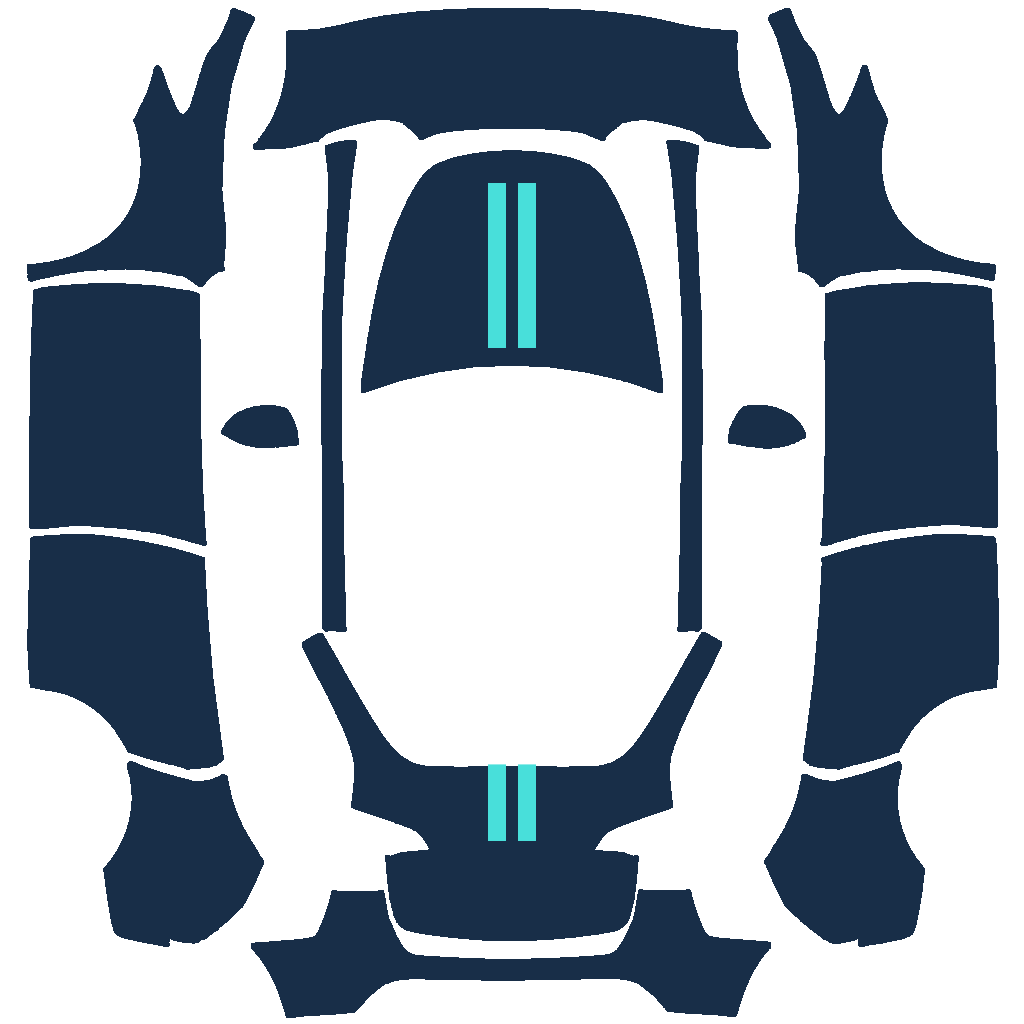
A wrap texture is a flat image that maps onto the digital vehicle's surfaces. It can look like disconnected body panels when opened in an image viewer, which does not by itself indicate a broken file. Review the design in the matching 3D preview if its intended vehicle is unclear. If you need to rebuild it, follow the creation guide before attempting another transfer.
Check the file requirements before choosing a route
Tesla specifies PNG format, dimensions from 512×512 to 1024×1024 pixels, and a maximum image size of 1 MB. Check the actual file you are about to select, not the original photograph or an editable project document. A filename ending in .png is not enough if the file was only renamed from another format. Re-export it as a real PNG when the original format is different.
The documented filename limit is 30 characters using letters, numbers, spaces, underscores, or dashes. Use a short name such as my-tesla-wrap.png, and remove unsupported punctuation introduced by duplicate downloads. Tesla documents up to 10 files from the mobile app and up to 10 from a USB drive. Keep these as separate documented limits rather than assuming one shared folder or unlimited capacity.
| Check | Documented requirement |
|---|---|
| Image format | PNG |
| Dimensions | 512×512 to 1024×1024 pixels |
| File size | Maximum 1 MB |
| Filename | Up to 30 characters; letters, numbers, spaces, underscores, dashes |
| Mobile app | Version 4.59.0 or later; up to 10 files |
| USB drive | Up to 10 files in the root-level Wraps folder |
Upload the saved image through the Tesla app
Save the finished PNG to a location your phone can access before opening the upload screen. In the Tesla app, open the intended vehicle and follow Creations → Wrap → Upload. Select the compatible image and inspect the available preview before applying it. Confirm that you chose the final design rather than an older download with a similar name.
The linked phone demonstration shows an iPhone photo-picker route through Collections and Recently Saved. The exact labels can vary with the native interface, so begin from the location where you verified the image. Use the mobile creation and saving guide if finding the PNG is the missing step. The website's export and the Tesla app's upload are separate actions.
Use a correctly prepared USB drive instead
For USB transfer, Tesla lists exFAT, FAT32, MS-DOS FAT, ext3, and ext4 as supported file systems. NTFS is not supported by the documented wrap workflow. Check the drive's format before copying files, especially if a drive that works on a computer is not recognized by Paint Shop. Back up existing data before changing a drive's format, because formatting erases its contents.
Create a folder named exactly Wraps at the top level of the drive and put the compatible PNG files directly inside it. A folder nested inside another directory is not the documented layout. Tesla also specifies that the drive should not contain map or firmware update files. Verify the folder's spelling and location rather than assuming any directory containing wrap images will be found.
Connect the drive and apply the design
The linked USB demonstrations pause dashcam recording before removing the vehicle's storage drive. If you use that drive, follow the appropriate safe-removal procedure and safely eject it from the computer after copying the PNG. Reconnect the prepared drive to the vehicle, then open Toybox → Paint Shop → Wraps. Select the transferred design and check the appearance on the vehicle display.
Some recorded interfaces include a Customize step before the wrap tab. Follow the labels available in your vehicle while using Paint Shop and the wrap list as the destination. A menu that differs from a video is not enough evidence that the PNG is invalid. Exact menu wording and availability for a particular vehicle software release or market remain to be confirmed where your interface differs.
Troubleshoot a missing or rejected file
If the PNG is not listed, first verify that the image is a real PNG within the size and dimension limits. Then inspect the complete filename for unsupported punctuation or an overly long name. Check the appropriate file-count limit before adding another design. Test with one known compatible image so you can separate a file problem from a transfer problem without changing several conditions at once.
For USB, additionally check the file system, the root-level Wraps directory, and the absence of map or firmware updates. For the app, verify its installed version and that you are viewing the intended vehicle. If the upload entry is still missing, its availability for your account and vehicle needs confirmation rather than a promise that reinstalling will fix it. Switching to the documented USB route is an alternative when you can prepare a suitable drive.
Fix an incorrect preview at the design stage
If the file appears but the artwork is stretched or misplaced, return to its vehicle template and 3D preview. Confirm that the model and variant match, then examine graphics near seams and panel edges. Re-export the corrected artwork and repeat the file checks before transferring it again. Changing USB folders or repeatedly uploading the same texture will not correct the mapping inside it.
Keep a clear distinction between a transfer failure and a design that transfers successfully but looks wrong. A missing image calls for checking file and storage requirements, while misplaced graphics call for checking the design. The original template gallery can help you compare a known model-specific texture with its preview. Use that comparison to understand the layout without assuming a template for another vehicle is interchangeable.
Finish with a visual check
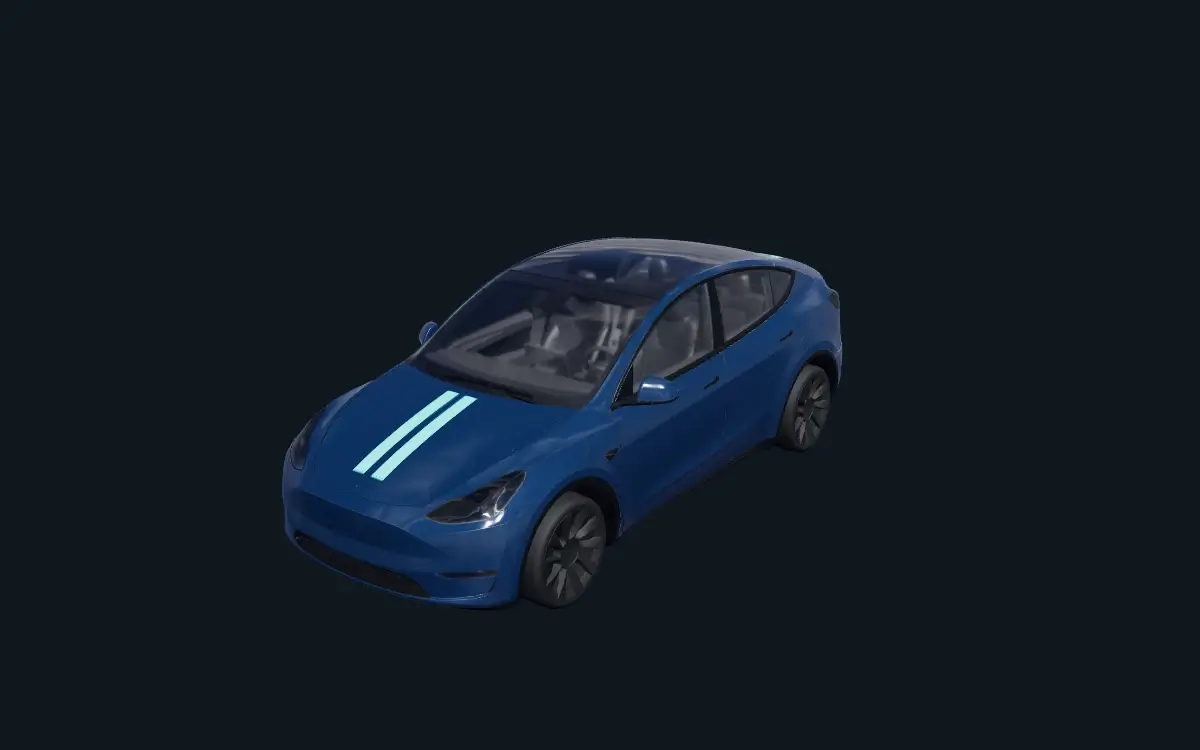
After applying the wrap, inspect the vehicle image to confirm that the intended version is selected. Check recognizable features such as a logo, stripe, or color boundary against your final design preview. Paint Shop changes the vehicle's digital appearance and does not apply material to its physical bodywork. Keep your source artwork available if the on-screen result shows an area you want to revise.
For a visual USB walkthrough, watch the Paint Shop import demonstration. It illustrates preparing the folder, reconnecting the drive, and selecting the image without making this website responsible for the transfer. Complete each check against your actual saved file and the interface on your vehicle. That gives you a repeatable way to distinguish template, file, storage, and application problems.